
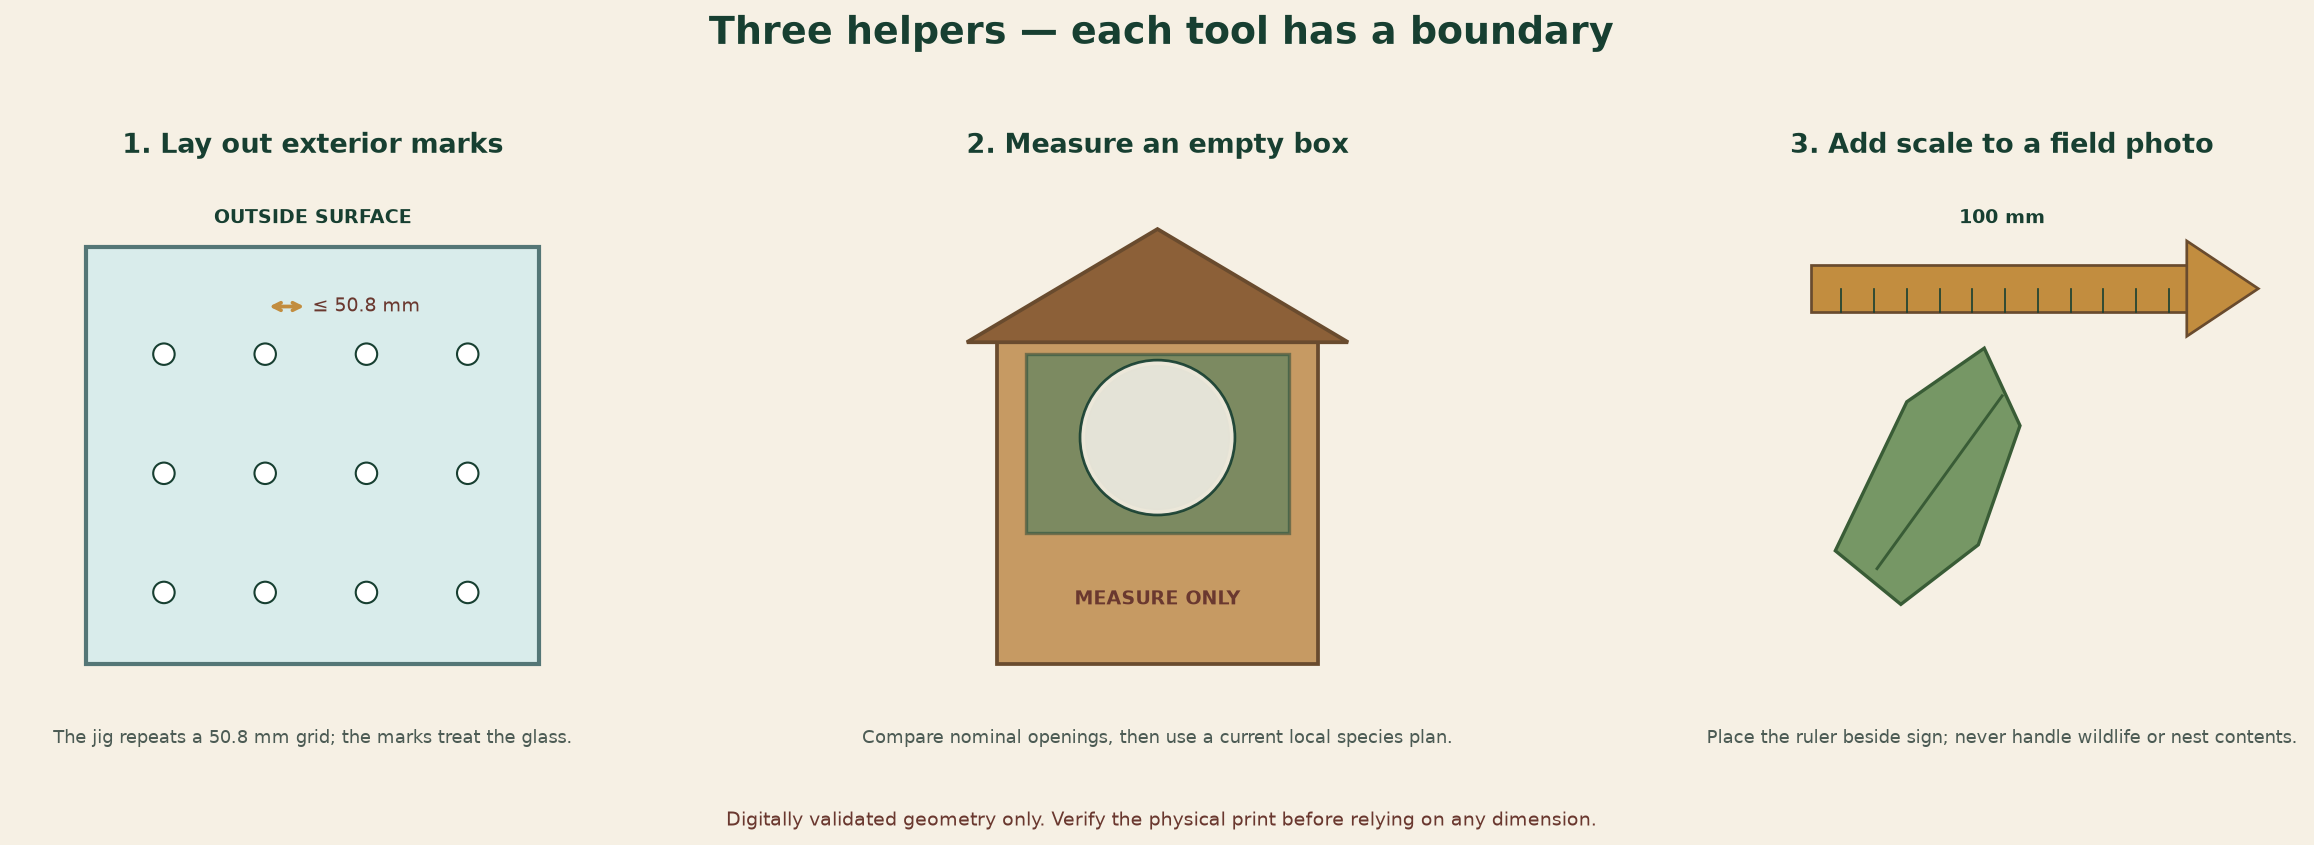
A useful nature print should do more than look like a leaf or a bird. It should make a recurring job easier, remain understandable away from a screen, and avoid pretending that printed plastic can certify a wildlife outcome. That became the brief for the Backyard Habitat Utility Pack.
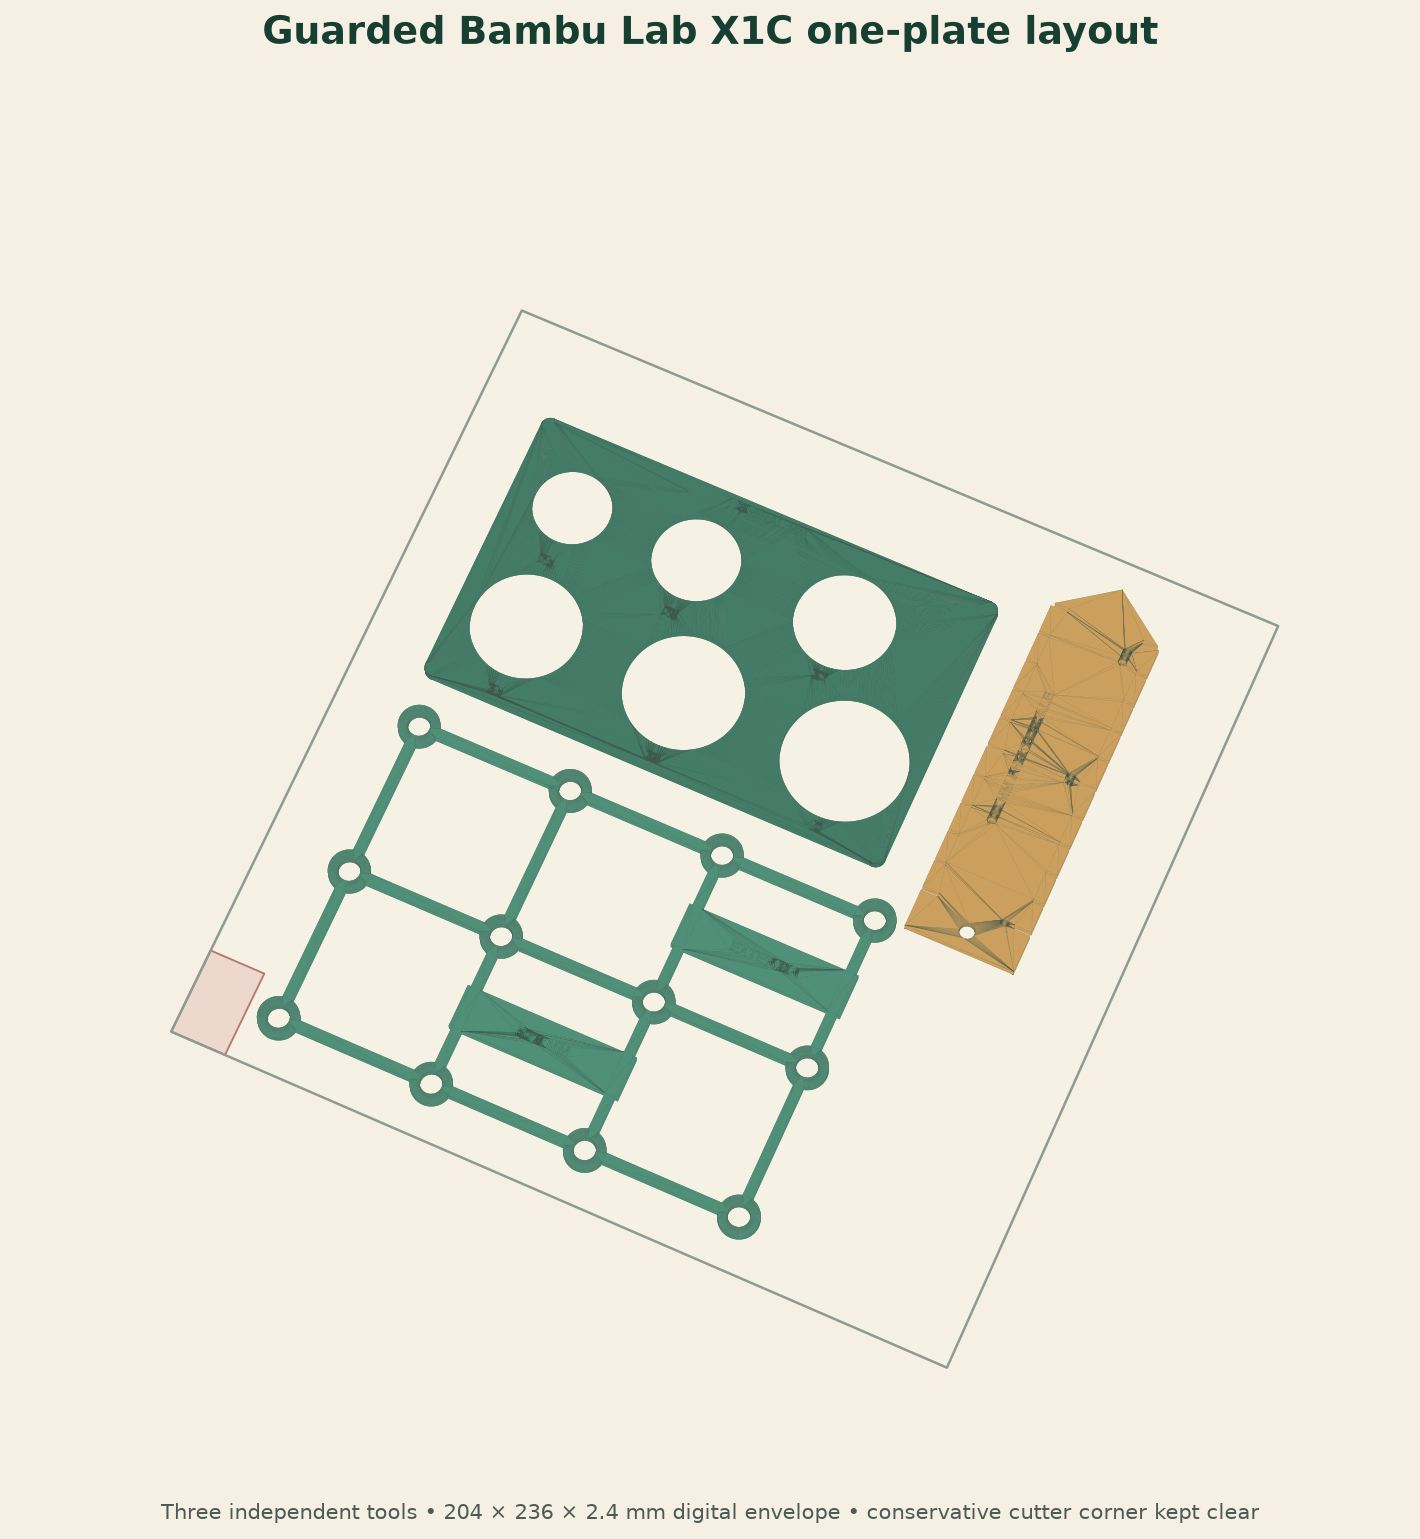
Revision one contains three independent, unsplit parts. They share a guarded 204 × 236 × 2.4 mm arrangement for the Bambu Lab X1C and are designed to print flat without supports. Separate STLs are included for anyone who wants to print only one tool.
Slice validated, not physically proven
The manifold release 3MF completed a Bambu Studio X1C slice with no mesh or plate-bounds warnings and no generated supports. Revision one has not been physically printed, measured, weathered, or field tested. The tools do not prove window-treatment effectiveness, species suitability, precision measurement, wildlife identification, or a conservation result.
Download the complete one-plate pack
The ZIP contains the generic three-mesh 3MF, an equivalent plate STL, three separate STLs, editable STEP, parametric source, use and plate diagrams, instructions, and the generated validation report.
Backyard Habitat Utility Pack — revision one
Three tools, one X1C plate, separate STLs, manifold 3MF, STEP, source, diagrams, README, and slice record · 4.44 MB
1. Repeat an exterior window-pattern grid
The first tool has twelve 7 mm nominal apertures on a four-by-three, 50.8 mm grid. Place it against an accessible exterior surface, fill every aperture with the selected treatment marker, then overlap a completed row or column before shifting the stencil. The overlap keeps the two-inch spacing repeatable across the pane.
The dimensions follow the current spacing and mark-size starting points in American Bird Conservancy’s guidance for homes: exterior patterns with gaps no greater than two inches, using dots or similar shapes at least one-quarter inch across and visible from a distance. The printed stencil is only a layout aid. It is not a window treatment, and it does not replace exterior placement, contrast, durability, glass compatibility, full-pane coverage, or the treatment maker’s instructions.
Measure the physical pitch and apertures before touching a window. First practice on disposable material. Remove the stencil when the actual pattern is complete.
2. Compare six nominal nest-box openings
The second tool carries 25, 28, 32, 35, 38, and 40 mm comparison holes. The sizes are intentionally species-neutral. Slide a new or confirmed-empty box opening into the closest gauge, then compare the measured result with the current, local nest-box plan being followed.
It is not a species selector and it cannot tell whether the rest of a box is suitable. Entrance needs depend on the bird, region, box, and current guidance. Cornell Lab NestWatch’s features of a good birdhouse covers the larger design context, while its Code of Conduct explains why observations must minimize disturbance. Do not approach, open, or manipulate an active nest to use this gauge.
3. Put a 100 mm scale in nature photos
The third tool has a 100 mm nominal baseline, ticks every 10 mm, larger marks at 0, 50, and 100 mm, an orientation arrow, and a 5 mm lanyard hole. Put it on the same plane as an inert track, leaf, seed, feather, or other sign, point the arrow in a direction you can describe, and take the photograph from as square to the subject as practical.
A contrasting filament or paint-filled engraving will read more clearly in a photo. The National Park Service’s animal-track activity likewise uses a ruler beside tracks so the observation records size as well as shape. Never move an animal, active nest, egg, nestling, plant, or fragile sign just to improve a photograph.
What the digital files prove
The generated report confirms that each separate STL is one watertight, winding-consistent component; the plate STL contains three watertight components; the 3MF declares millimeters and contains three separate manifold build items with no indexed boundary or nonmanifold edges; the STEP imports as three solids; the objects do not overlap; and the guarded arrangement remains inside the nominal 256 × 256 × 250 mm X1C envelope.
That does not establish printer accuracy. After printing, use calibrated calipers to check the stencil pitch and all six gauge holes, and compare the scale’s full 100 mm baseline with a trustworthy ruler. Retire any part that warps, cracks, delaminates, or no longer measures closely enough for its job.
The recorded X1C slice
- Bambu Studio 2.8.1.55, Bambu Lab X1 Carbon, Textured PEI Plate, and 0.4 mm nozzle.
0.20mm Standard @BBL X1CwithPLA Basic: 12 layers at 0.20 mm.- No generated supports, mesh warnings, or plate-bounds warnings.
- Estimated 14.10 m / 42.73 g of filament and 1h25m total time, including 7m15s preparation.
- This is a software estimate, not a completed print. Re-slice and inspect the file for the selected machine, material, plate, and current software before printing.
Help improve revision one
Measure the print, then tell us what changed.
The most useful report includes the printer and material, slicer profile, measured stencil pitch, six measured opening diameters, the full photo-scale length, readability notes, and any deformation after storage or outdoor handling.
Share habitat-pack feedback